


Roof Report
New Roofing Project? Here’s What to Expect
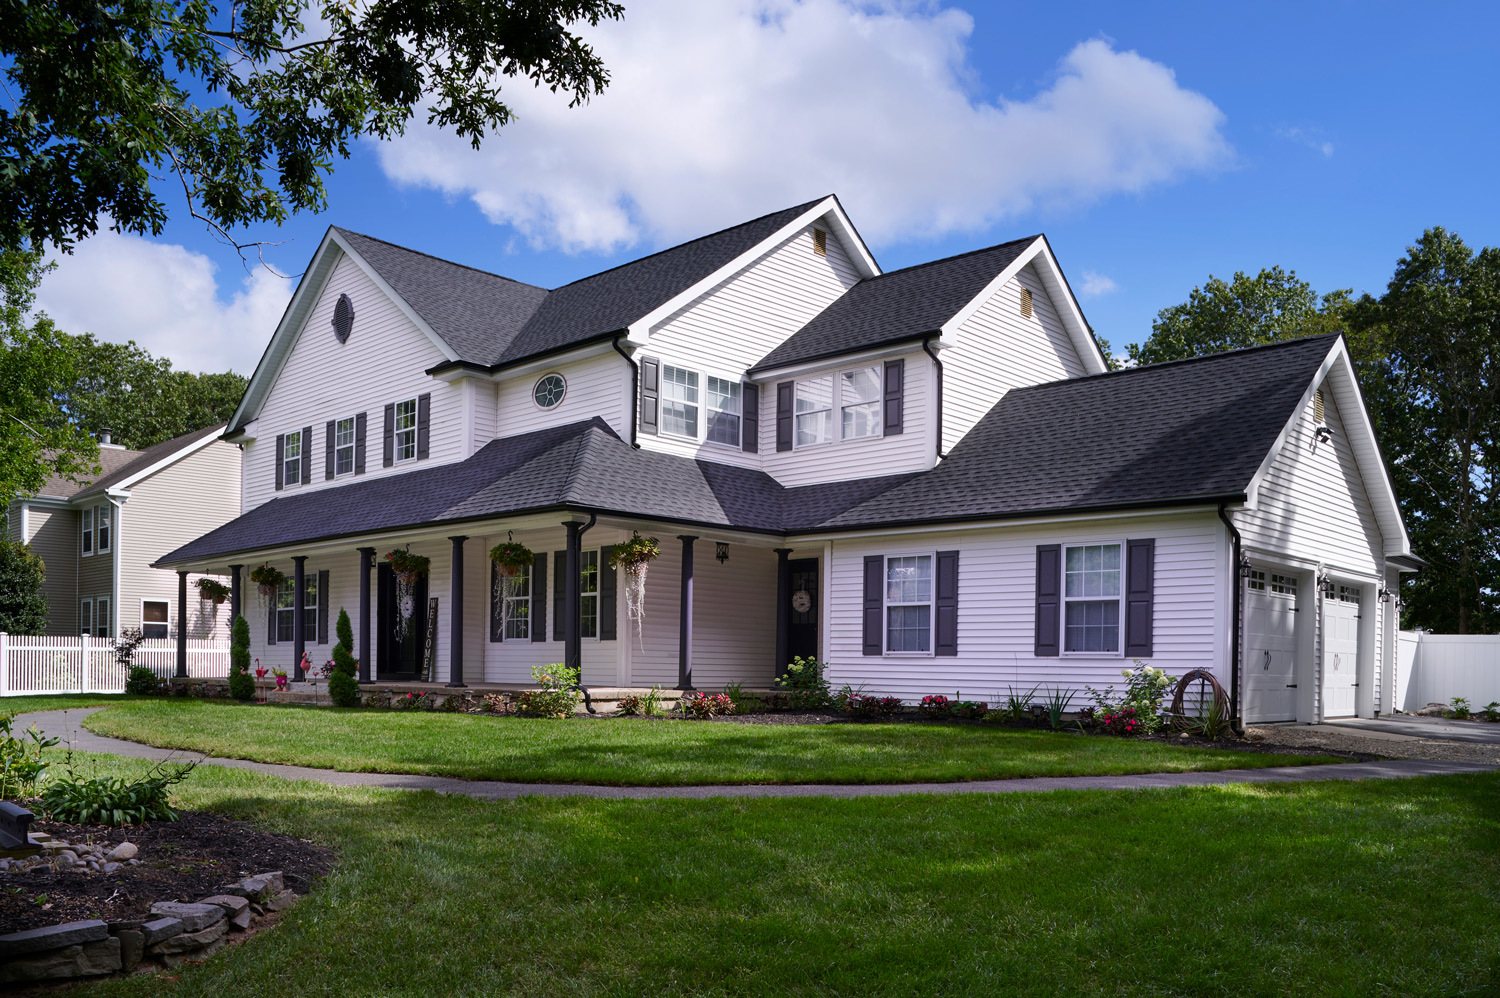
There comes a time for every roof to start anew. A new roof is one of the most valuable investments you can make in your home, complete with the power to improve your curb appeal, increase your home’s value, and keep your family and possessions protected from Mother Nature’s worst.
The experience is equally exciting—for you—and complicated—for the roofer, demanding expert knowledge and thorough preparation. New roof installations turn homes into work zones: a lot can happen, things can go wrong, and danger can lurk. However, the process can run smoother when you know what to expect.
From before the roofer comes knocking at your door until the last nail is picked up off the ground, there are stages to keep on your radar. Workers will walk around the roof—ripping, tearing, drilling, nailing, and pounding frames with hammers. Dust, debris, pieces of shingles, and other materials will scatter around your home. It’s a noisy, messy job—but you can be prepared.
Ready for a new roofing project for your Long Island home? Here’s your complete game plan and guide focused on the days leading up to, during, and after a new roof installation.
Before the job
Research contractors
So you’re finally ready to find the right roofer to tackle your project—and that means researching local contractors. Not all roofing contractors created equal, so your job is to sift through the options in search of good credentials.
Referrals are worth their weight in gold in the world of home improvement. Ask your friends and neighbors to recommend a contractor that went above and beyond for their roof project. Don’t sweat if you can’t find someone with a positive experience to share—a quick Google search can help you separate a 5-star rave from a 1-star rant.
However, one thing reigns supreme in the world of good roofing credentials: a certification straight from GAF, North America’s largest roofing manufacturer. Any GAF-certified contractor is a roofer you can trust.
Get an estimate
Of course, cost also matters to your roofing project, so now is the time to shop around for estimates and compare options and rates. Ask the different contractors on your list to review your roofing project in detail and help you understand the differences in the estimates.
The average cost to replace a roof can vary—but many roofing contractors in New York charge between $6,000 and $8,500 for a basic asphalt shingle roof or about $4.50 to $6.00 per square foot.
The low-cost job is not always the right one, so do your due diligence by looking at past projects to figure out just how far your budget goes with a specific contractor.
Select a contractor
Think about the interactions you had with different contractors and find the one that stands out. Who made you feel the most comfortable and recommended the right roof system for your home?
Remember that a roof is more than just shingles. Multiple components work together to protect your home including starter strip shingles, leak barriers, ridge vents, roof deck protection, and ridge cap shingles.
You want a licensed, insured, and trained contractor to install the right products the right way. Warranties mean everything in roofing—and only a GAF-certified Master Elite contractor who understands the core components of a complete roofing system can offer GAF’s strongest warranties.
Select the products and warranty
Consider the impact of each product on the cost of your new roofing project. Work with a contractor to find the right roof system for your unique home and needs.
Asphalt shingles are the most popular kind of roofing material in New York. Cost effective, easy to install, and built to last up to two decades or longer, asphalt shingles look great in a variety of different colors and styles. The biggest downside to asphalt is their popularity, which means your roof has less of a chance of standing out in the neighborhood. Premium, architectural shingles cost more up front—but pay you back in the form of standout curb appeal.
Discuss everything from ventilation and style to payment and financing options. In our Long Island climate, where hot summers alternate between cold winters, a healthy roof ventilation system ensures heat gain, heat loss, and moisture can escape while keeping extreme temperatures from damaging wood substrates and shingles.
Now is also the time to explore warranty options and find the right coverage for your needs.
During the job
Get ready for the big day
The day (or two) before the roof installation is the day to start preparing your home. Expect the roofer to deliver a dumpster and the shingles before the work begins, so make sure the driveway is clear from cars and that someone is home to give the delivery crew a thumbs up.
Most roofers can finish the job in one day. However, depending on the size of your home, the type of work and materials, where you live, your roof’s shape, and the weather, your roof project can take anywhere from a few hours to a few weeks.
Prepare your property for the project and construction by placing plywood and tarps over the siding, plants, walls, and bushes. (This extra step also makes the post-project cleanup faster and more thorough).
Before the big day, park your vehicles on the street—and even down the street to keep them at a safe distance—giving the contractor enough room to move everything back and forth from your home.
Move or cover outdoor items near your home to prevent nails, roofing materials, and falling debris from damaging your furniture, grills, planters, and other items.
Relocate or tarp valuable property in your attic. Roofing work can create vibrations that travel throughout the house, so secure wall hangings and valuable or fragile items on shelves which can fall or break.
Expect minimal disruption to your daily routine. Most contractors work during office hours. If you work from home, anticipate some noise disruption. Explain to your children the danger of being outside and set up areas for them to play safely.
If you need a break from all the banging, consider spending some time with a friend or family member. If you have pets, let them tag along with you or at least put them in the quietest room in the house with least amount of noise (and stress).
Understand the installation
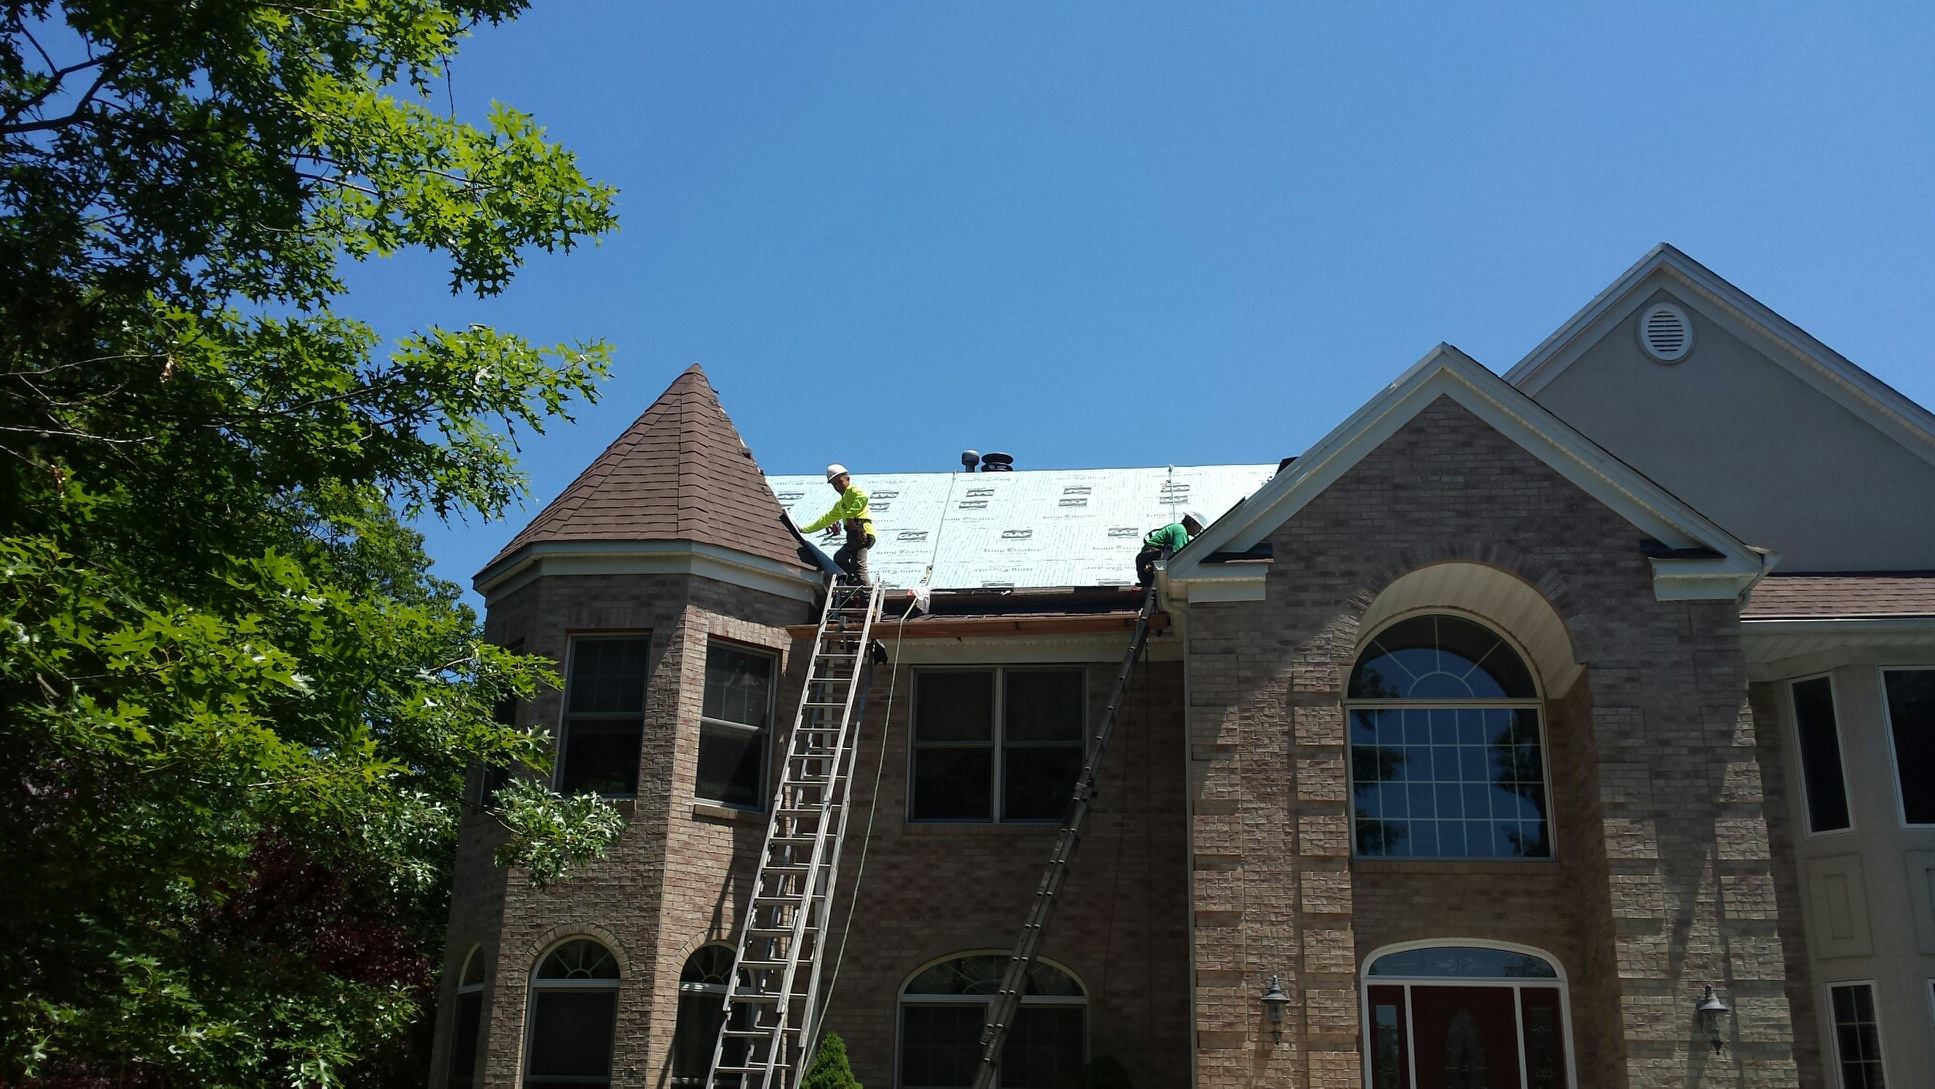
The first step is simple: tear off the old roof. The roofer will remove the old materials right down to the plywood. The shingles, flashing, vents, and the entire deck surface including the tar paper are history. The same is true for damaged wood—shingles can shift when installed on rotted wood, for example, springing leaks and undermining the reason you installed a new roof in the first place.
With the old roof stripped, the roofer will examine the roof deck. Rotted, soft, or wet wood discovered during the inspection warrant a replacement, ensuring a solid base for the new roofing structure ready to keep the shingles intact. A quick wood sheeting inspection will also ensure correct attachment of the materials to your roof.
After the wood decking, the roofer will install drip edges. These pieces of metal with a ninety-degree bend stop rain from seeping beneath the roofing materials at the edges.
Roofing underlayment works as a shield to prevent water and ice from penetrating the wood decking and creating leaks and cracks that can weaken the structure. The roofer will install this barrier of protection at all penetration points including roof connections, pipe flanges, chimneys, and the bottom of the roof.
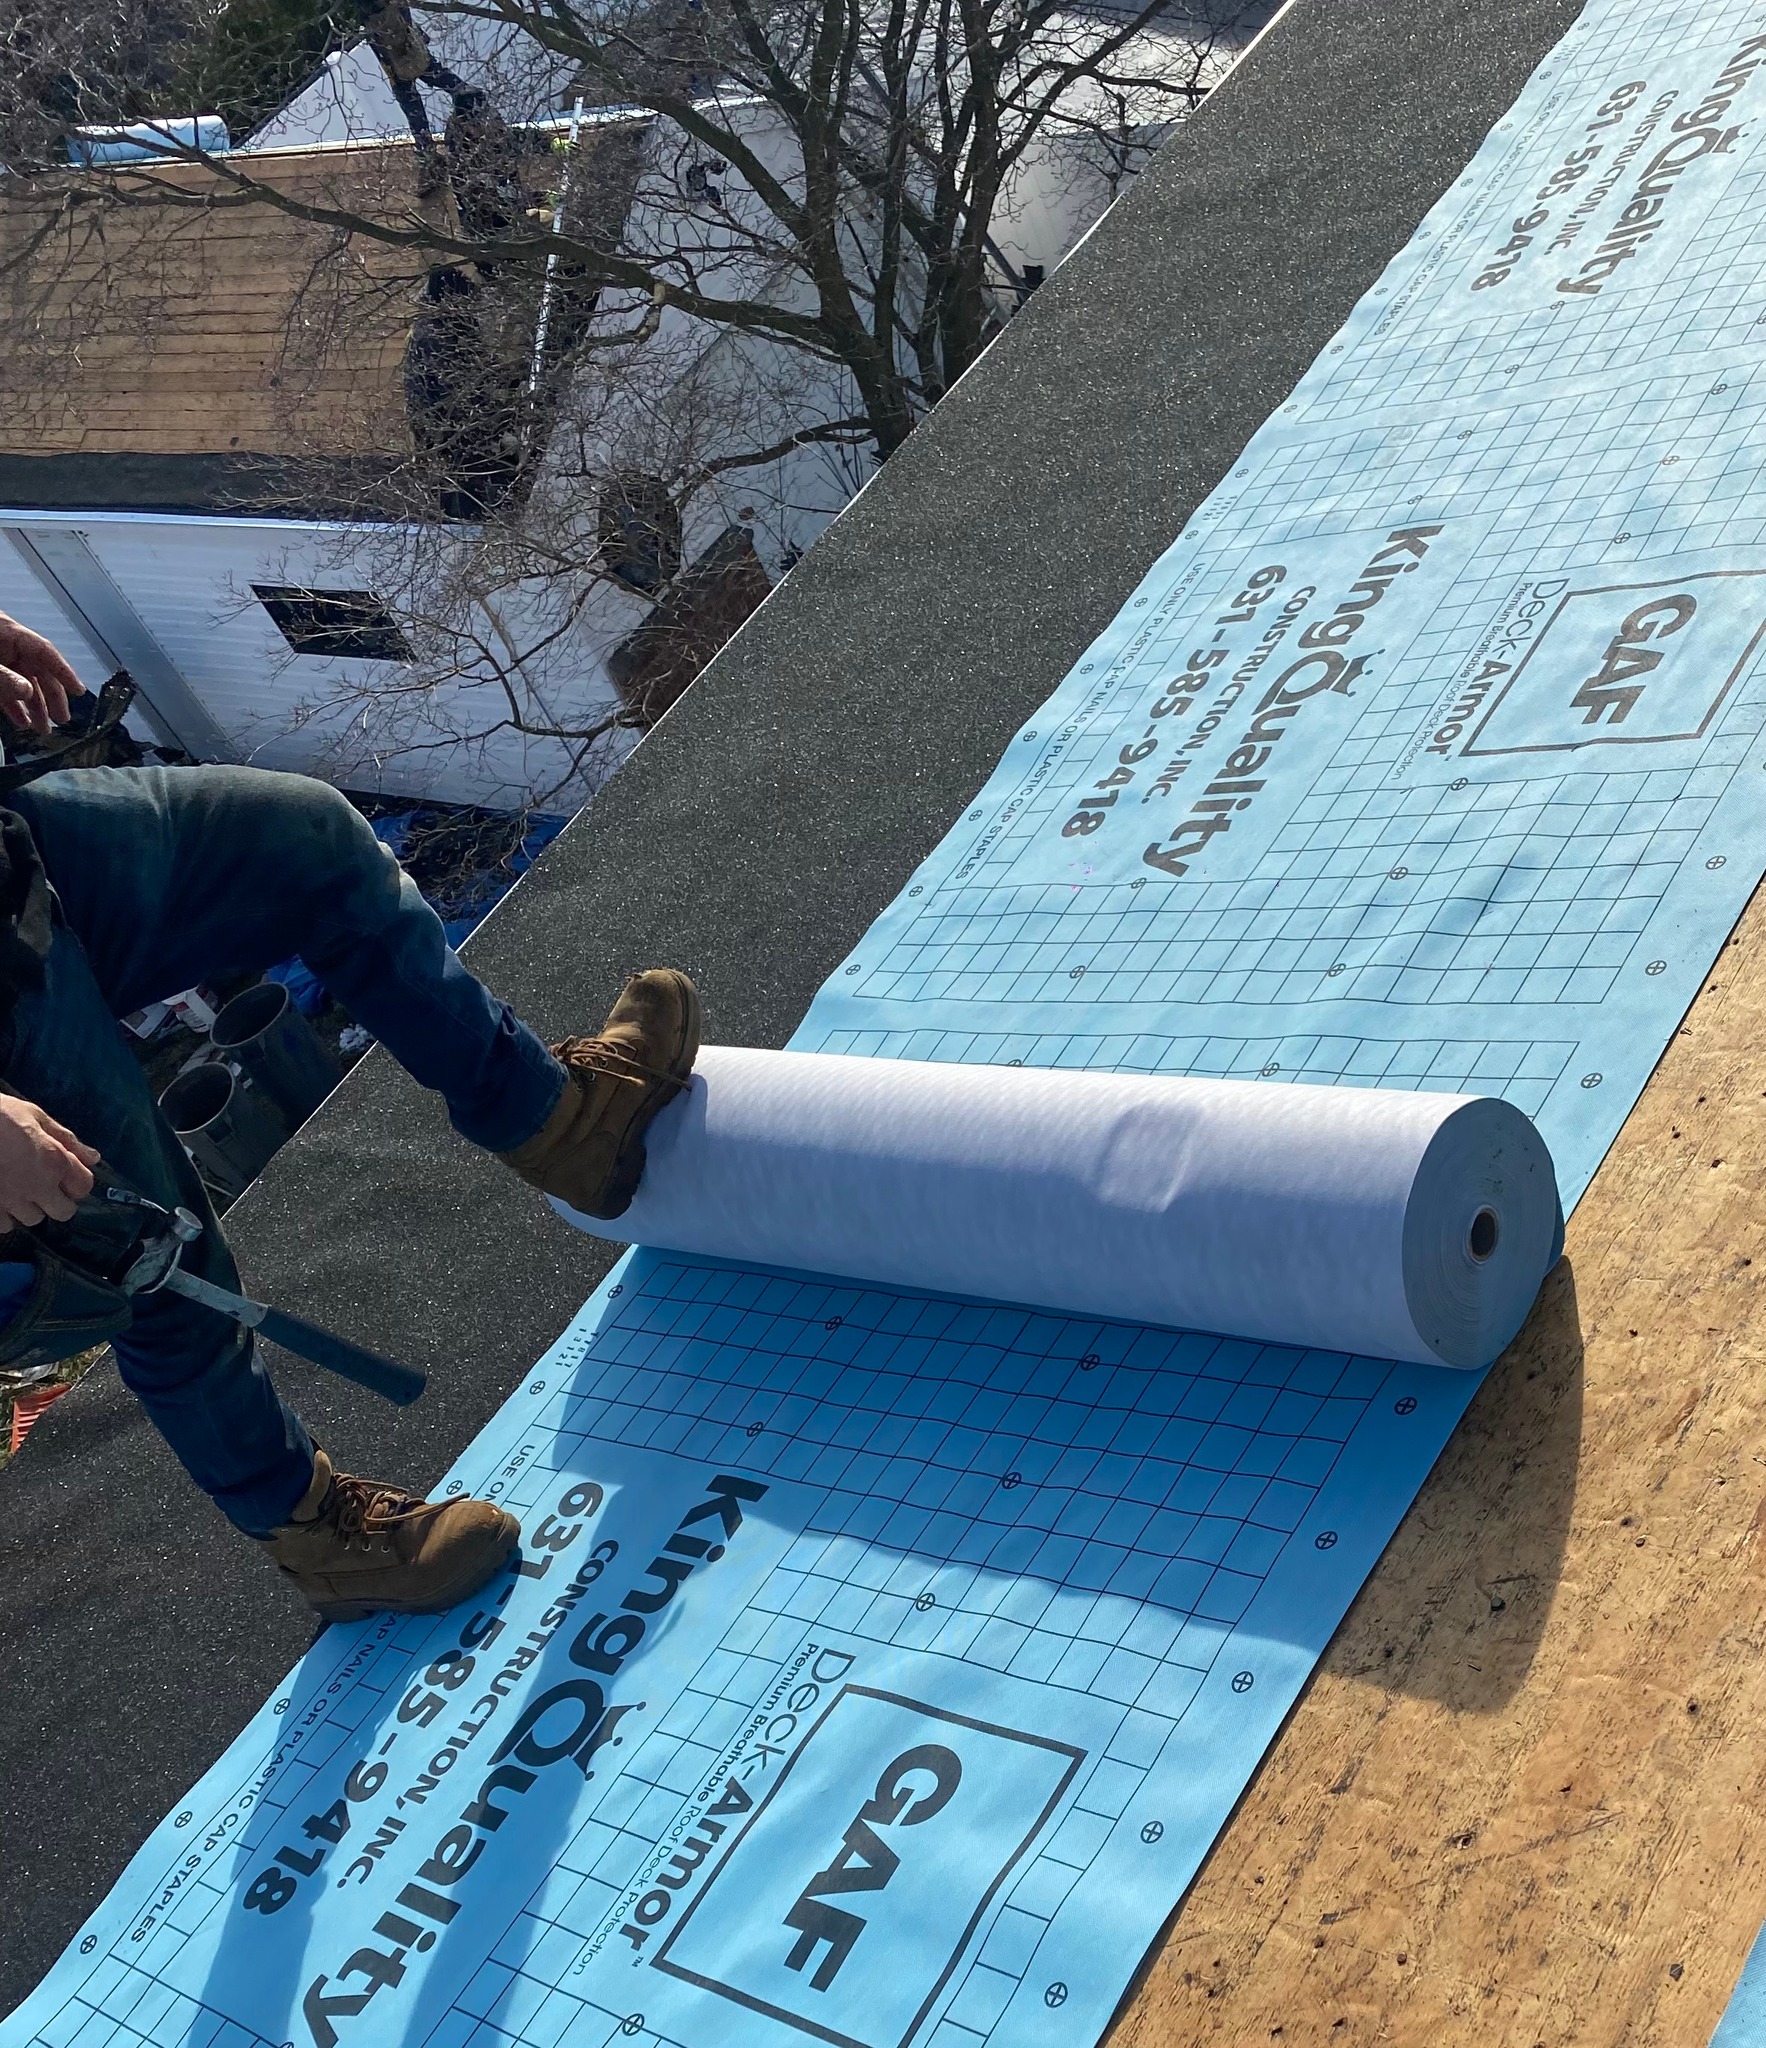
After the shield comes the felt, which covers the roof to prevent new shingles from sticking to the wood. Heavy-duty roofing felt ensures your new roof can hold up to extreme weather and water damage.
The roofer will also check the intake and exhaust vents. Good ventilation helps your new shingles and roof last longer—and a quick inspection inside the attic tells the roofer if you need new vents. Ice dams are a common problem during harsh New York winters—and a good roofer knows how to combine better sealing, insulation, and venting in the attic and eaves to keep them at bay. Now is also the time to inspect for gutter damage including separations, dents, and overflowing water.
With all components assessed, the new roof installation can begin. The roofer will start from the bottom and work their way up. The first group is the ridge capping, ridge vents, counter flashing, and pipes. Next comes the underlayment and the perfect alignment of tar paper. On top of that is an under-row of starter shingles to prevent overlaps of bonds or tabs. For homes without gutters, roofers will install diverters to ensure a healthy flow of water off the roof.
The last big part of the project is the cleanup. (A good roofer will leave your home cleaner than it was before the job.) Your job is to walk around your property and inspect the work so that the roofer can tie up any potential loose ends before the final sign off.
Make sure the roofer removed all debris and stray roofing nails. Some roofers are better than others at tracking down and picking up all the scattered pieces.
After the job
Work with your roofer to come up with a plan to care for new roof over the long term. Make sure the roofer gives you a copy of your warranty and consider an annual inspection and maintenance plan to keep your new roof performing and protecting at its best. Give yourself a pat on the back for making it through your new roof installation then sit back, relax, and enjoy your new roof!
Royal treatment for you and your home
Ready to upgrade your Long Island home and enhance your curb appeal with a new roof? Our decades on the job and exclusive partnerships mean leading manufacturers trust us to install only the highest quality products. And our affordable financing makes your dream of a unique, quality-driven home a reality.
We put lifetime warranties, certified and award-winning installers, and low monthly payments behind every project to turn homes into castles. Call us today at 631-573-0642 to schedule a free consultation—and discover royal treatment for you and your home.
Finance your dream home
Start today. Pay tomorrow.

No interest for 5 years*
*Only applicable for KingWall, GAF Ultra, and Beach House Shake.

No payments and no interest
if paid in full within 18 months
Interest is billed during promo period but will be waived
if the amount financed is paid in full before promo period expires.
Easy and fast approvals.
Financing that fits your budget. Your dream home is just a phone call away.
Get Started